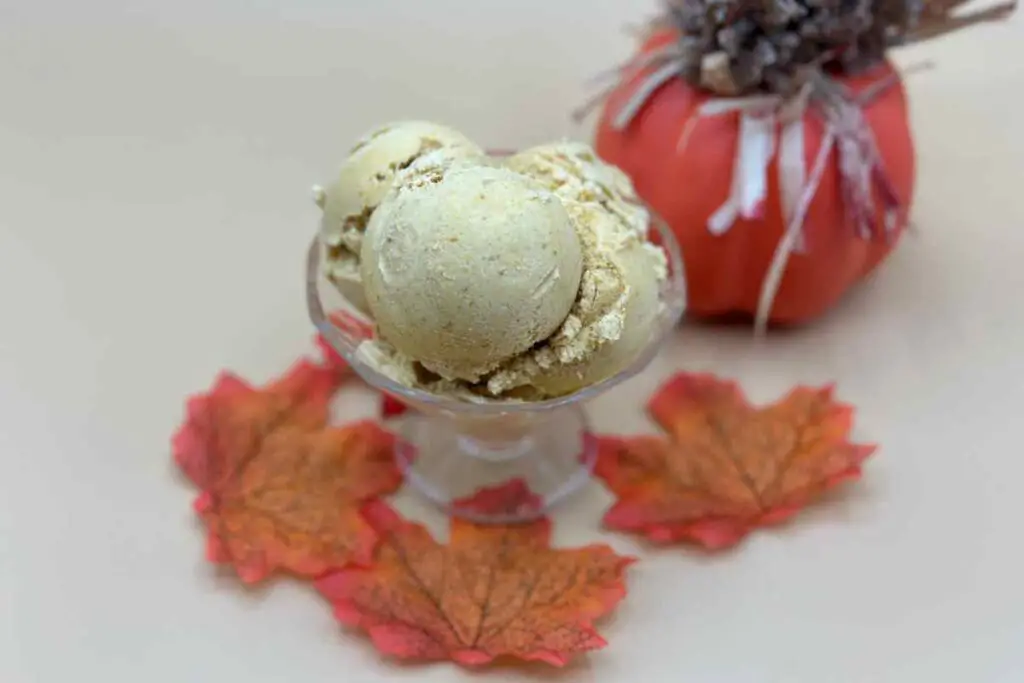
Fall is fast approaching, and with it comes the irresistible allure of pumpkin-flavored delights. I always embrace the season than by making homemade pumpkin ice cream recipe
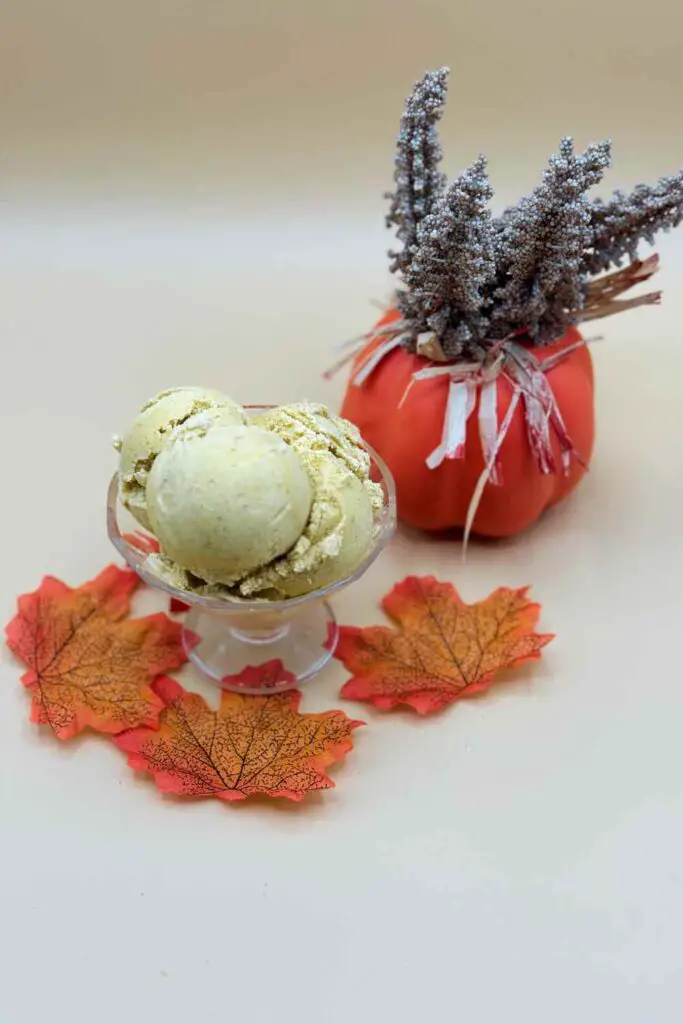
I make this recipe without eggs and it is just as creamy! It’s the rich blend of pumpkin puree and cream that make it smooth and of course, capture the essence of autumn.
With simple ingredients and a few handy tools, you can create your own ice cream that captures the warm pumpkin spice flavor of the season. Let’s dive in!
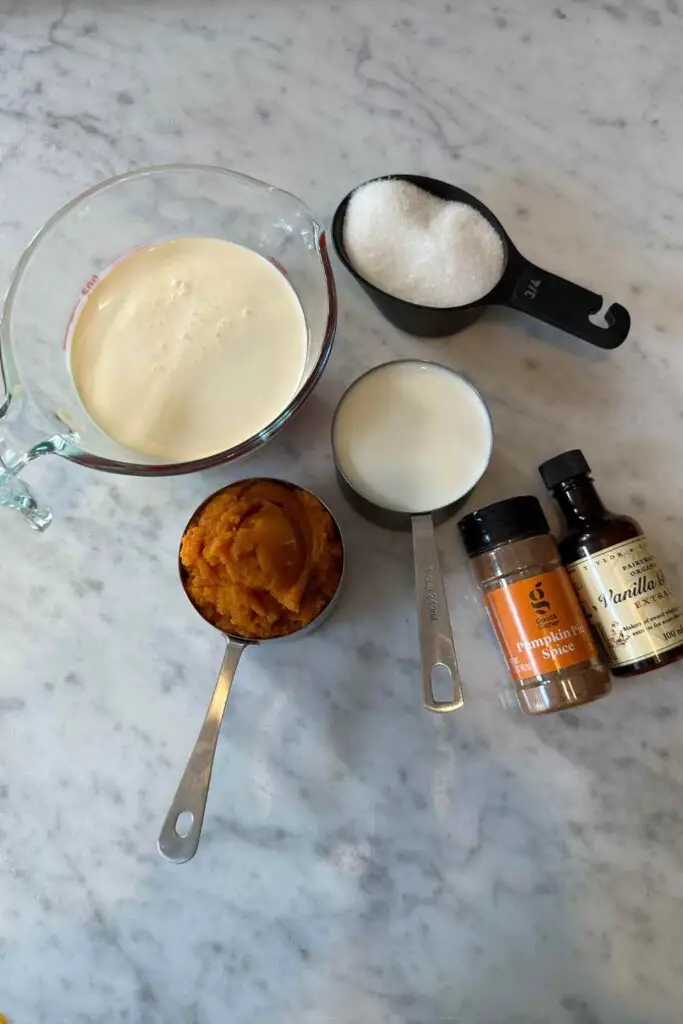
Ingredients
I prefer an American style ice cream because you don’t need to worry about egg yolks and making an egg custard.
- Canned Pumpkin Puree (or Homemade Pumpkin Puree): This is the star of the show, providing the rich, earthy pumpkin flavor. You can always make your own!
- Heavy Cream: The heavy cream adds luscious richness and creaminess to the ice cream, making it velvety smooth.
- Whole Milk: Whole milk contributes to the ice cream’s creamy texture without overwhelming it with fat. It’s a perfect balance.
- Dark Brown Sugar: Dark brown sugar provides sweetness and depth with its molasses notes, complementing the pumpkin’s natural sweetness.
- Vanilla Extract: A touch of vanilla extract enhances the overall flavor profile and adds a hint of sweetness.
- Pumpkin Pie Spice: This blend of warm spices, including cinnamon, nutmeg, ginger, and cloves, infuses the ice cream with that classic pumpkin spice flavor.
These ingredients, when combined, create the perfect ce cream base to get the full flavor of pumpkin and spice.
Equipment
To create this delicious pumpkin ice cream, you’ll need a few essential pieces of equipment. Here’s a list of what you’ll need:
- Ice Cream Machine: An ice cream machine is the core tool for making ice cream. It churns and freezes the ice cream mixture, ensuring a smooth and creamy texture. It’s important to have the machine’s bowl properly frozen before starting.
- Large Bowl: You’ll need a large mixing bowl to prepare and combine the ingredients for the ice cream base. This bowl should be large enough to comfortably mix everything together.
- Airtight Container: You’ll need an airtight container to store the finished ice cream in the freezer. This container should be large enough to hold the ice cream, and it helps prevent ice crystals from forming on the surface.
- Whisk: A whisk is essential for thoroughly mixing the pumpkin puree, spices, and other ingredients to create a well-blended ice cream base.
- Saucepan: You’ll use a saucepan to warm the heavy cream, whole milk, and brown sugar over medium heat to dissolve the sugar and create the ice cream base.
- Mixing Spoon: A mixing spoon or spatula is useful for stirring the ice cream mixture and ensuring it’s well-combined.
- Measuring Cups and Spoons: Precise measurements are crucial in baking and making ice cream, so have measuring cups and spoons on hand for accurate ingredient quantities.
Having these equipment items ready before you begin will make the process of making homemade pumpkin ice cream easier, but you can always make it without an ice cream maker.
The Ice Cream maker to use!
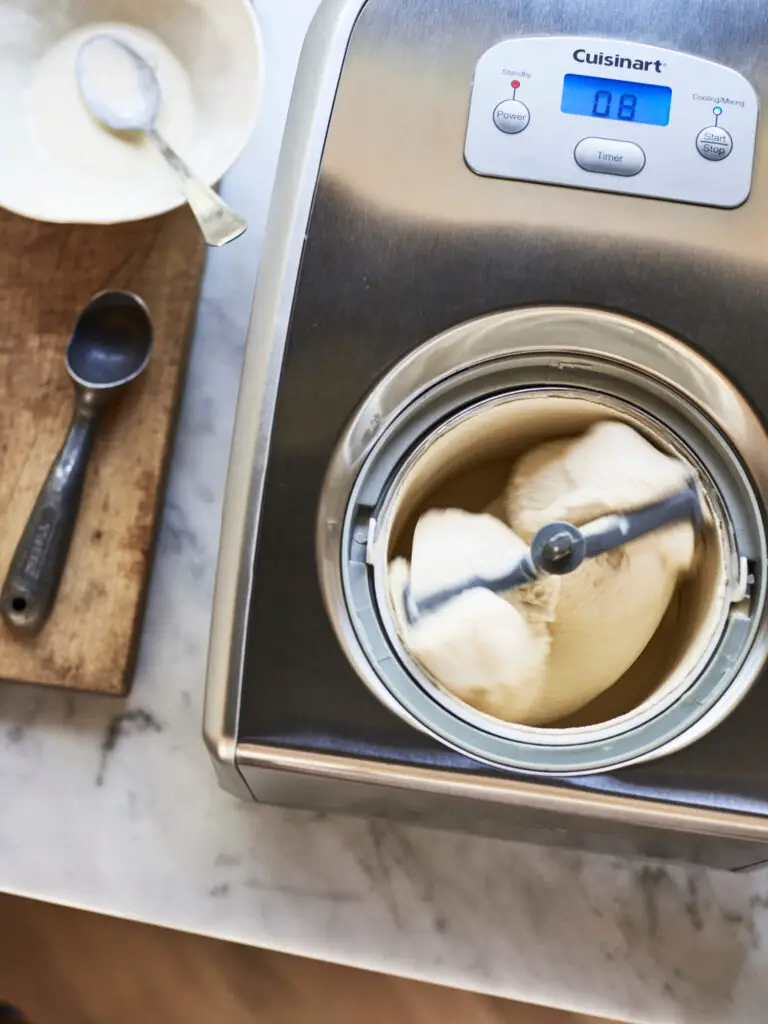
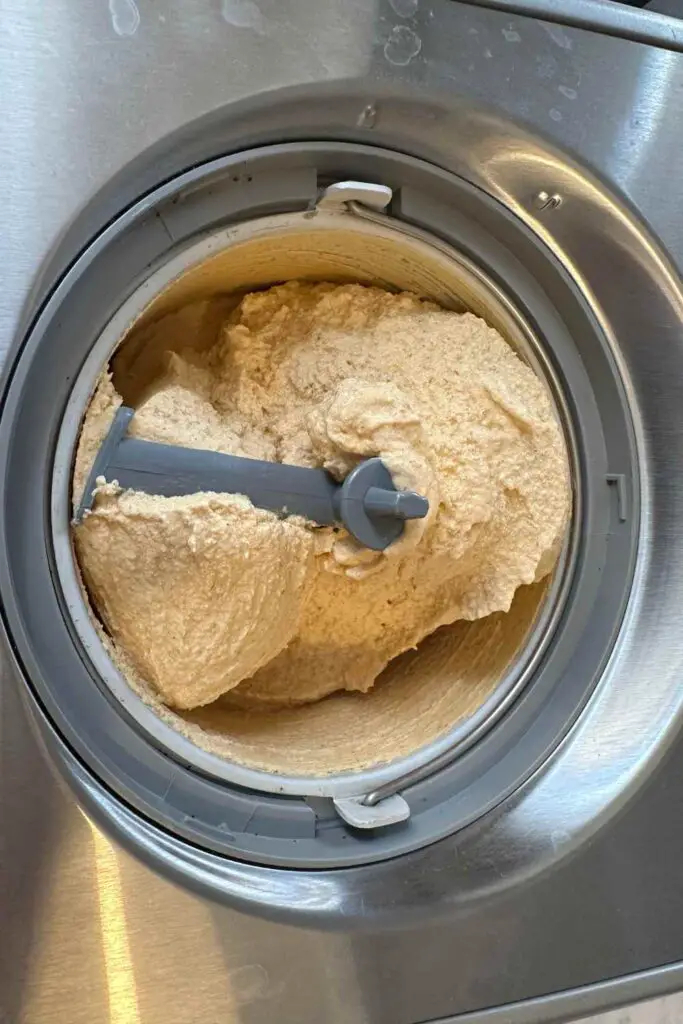
You have to have an ice cream maker if you want to make ice cream or sorbet! I started making it using the Cuisinart ICE-100 Compressor Ice Cream and Gelato.
There is no faffing around with bowls in the freezer. When you are ready for ice cream, it’s ready. Just turn on the Cuisinart ice cream maker and go. In about 40 minutes, you have ice cream that you can eat right then, or you can put it in the freezer to harden up a bit more. Once done in, you’ll have about 1 litre of ice cream ready to devour!
Steps
It only takes a few simple steps for this great recipe:
Prepare the Pumpkin Mixture:
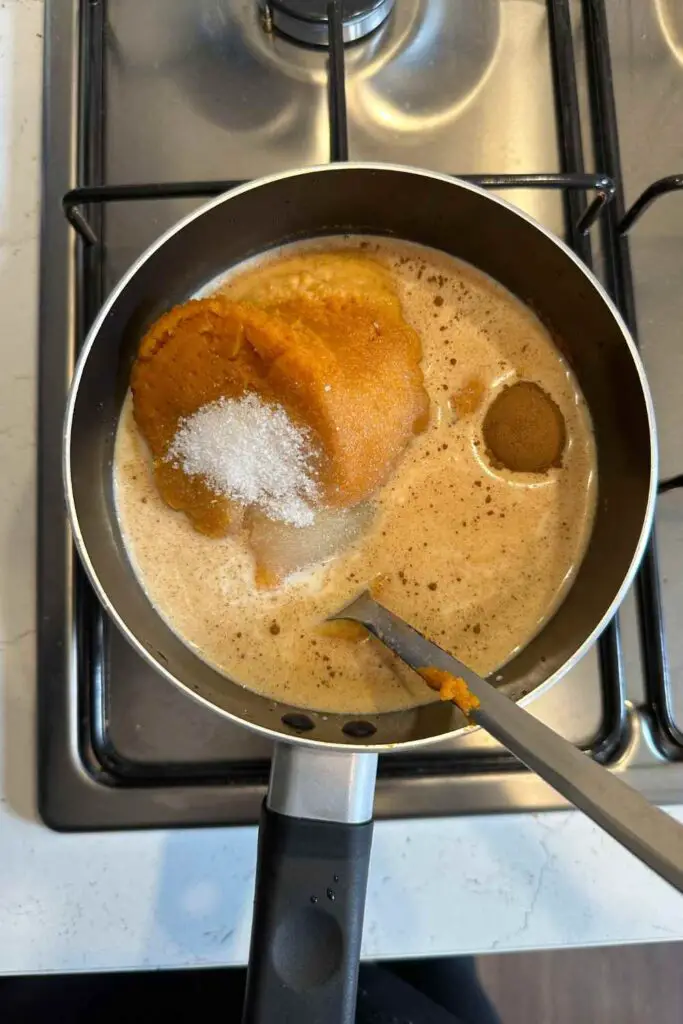
In a medium size pan over medium heat, bring milk, sugar, pumpkin puree, pumpkin pie spice, and vanilla extract to a low simmer, stirring frequently.
Combine Pumpkin and Cream Mixture:
Pour the pumpkin mixture into the cooled ice cream base. Mix thoroughly until well incorporated.
Freeze (skip this step if you’re using an ice cream maker)
Transfer the milk mixture into a freezer-safe container or a shallow loaf pan (and cover tightly with plastic wrap) and place it in the freezer for about 4 hours.
After it’s completely frozen, keep the ice cream at room temperature to partially thaw it. Transfer it to the food processor for a minute or two (for a light, fluffy texture). Transfer the ice cream back into its container and refreeze for at least 3 hours.
Chill and transfer to the ice cream machine (skip this step if you’re not using an ice cream maker)
Place the ice cream mixture into a large bowl in the refrigerator until it is chilled. Transfer the mixture to the chilled container of your ice-cream maker and churn ice cream as per the manufacturer’s instructions.
You can start eating your homemade ice cream immediately or keep it in the freezer for a couple of hours to firm it up.
Tips
When making any ice cream, there are a few tips and tricks that can help ensure success:
- Use high-quality ingredients: The flavor of your ice cream will only be as good as the ingredients you use. Opt for fresh, high-quality cream and milk.
- Chill your mixture thoroughly: Before churning, make sure your ice cream mixture is thoroughly chilled. This will help it freeze more quickly and evenly, resulting in a smoother texture. Aim for a temperature of around 40°F.
- Don’t overfill your ice cream maker: It can be tempting to fill your ice cream maker to the brim, but this can actually impede the freezing process. Stick to the manufacturer’s recommended capacity, and if you need to make a larger batch, do it in batches.
- Add mix-ins at the end: If you’re adding mix-ins like nuts, chocolate chips, or fruit, wait until the last few minutes of churning to add them. This will help ensure they’re evenly distributed throughout the ice cream.
- Freeze your ice cream properly: Once your ice cream is churned, transfer it to an airtight container and freeze it for several hours or overnight. To prevent ice crystals from forming, press a piece of plastic wrap directly onto the surface of the ice cream before sealing the container.
By following these tips and tricks, you can create delicious, pumpkin ice cream that’s sure to impress.
Variations
Variations on pumpkin ice cream allow you to get creative and tailor this fall favorite to your personal taste. Here are some delightful ideas to add twists to your homemade pumpkin ice cream:
- Pumpkin Pie Swirl: Create a pumpkin pie swirl by adding chunks of homemade or store-bought pumpkin pie filling to your ice cream during the churning process. It’s like having pumpkin pie in every bite.
- Candied Pecans: Stir in candied pecans for a delightful crunch and a touch of sweetness. The nutty flavor pairs perfectly with pumpkin.
- Chocolate Chip Pumpkin: Add semi-sweet or dark chocolate chips for a decadent twist. The chocolate complements the warm pumpkin spice flavors.
- Caramel Swirl: Drizzle caramel sauce into the ice cream as it churns for a gooey, sweet surprise in every spoonful.
- Gingersnap Cookie Chunks: Crush gingersnap cookies and mix them into the ice cream. The spicy cookies add a nice contrast to the creamy pumpkin base.
- Pumpkin and Bourbon: For adults, consider adding a splash of bourbon to your pumpkin ice cream for a boozy twist. Make sure to let it churn long enough for the alcohol to dissipate.
Feel free to mix and match these variations or come up with your own recipes!
Frequently asked questions
Can you make lactose-free or dairy-free ice cream?
Absolutely! If you don’t have lactose tolerance and want to enjoy homemade ice cream, you can replace whole milk with lactose-free milk. moreover, you can also use coconut cream or lactose-free heavy cream.
Is ice cream gluten-free?
Ice cream is typically gluten-free, but it’s important to check the ingredients list to make sure there are no gluten-containing additives.
How long does ice cream last in the freezer?
A: Homemade ice cream can last up to two weeks in the freezer, while store-bought varieties may last longer due to the addition of stabilizers. It’s important to store ice cream in an airtight container to prevent ice crystals from forming.
What if I don’t have Pumpkin Pie Spice
If you don’t have pumpkin pie spice, you can create your blend using cinnamon, nutmeg, ginger, and cloves.
The Cherry on Top
Homemade pumpkin ice cream only happens once a year, so indulge now! It’s great to accompany pumpkin pie on your Thanksgiving table. You can never have too much pumpkin!
List of other ice creams
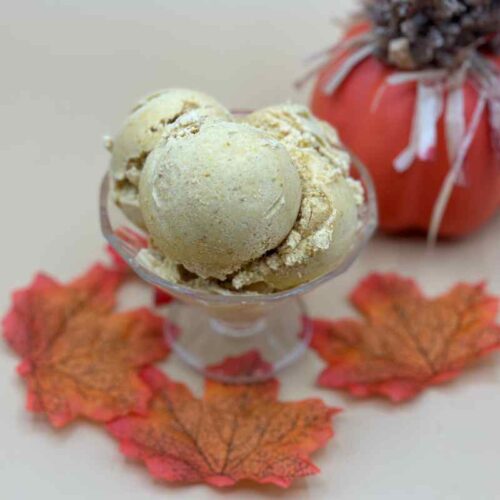
Here’s the Pumpkin Ice Cream recipe!
Pumpkin Ice Cream
Ingredients
- 1 cup whole milk
- ¾ cup granulated sugar
- 2 cups heavy cream
- 1 teaspoon vanilla extract
- 1 teaspoon pumpkin pie spice
- 1 cup pumpkin puree
Instructions
- In a medium size pan over medium heat, bring milk, sugar, pumpkin puree, pumpkin pie spice, and vanilla extract to a low simmer, stirring frequently.
- Allow the mixture to cool slightly, then add heavy cream.
- Cover and put in the fridge for at least two hours, but I would do overnight
- Take out of the fridge and make it according to the manufacturer’s instructions. (I always use my Cuisinart Ice Cream Maker)*
- Wow everyone by serving it immediately or store in an airtight container in the freezer for up to 2 weeks.
Notes
- Pour in the ice cream mixture, add the ice cream paddle and then turn it on
- I set the timer for 35 minutes
- You can always churn it longer if you want it harder
- Put it in the freezer to harden up some more

