
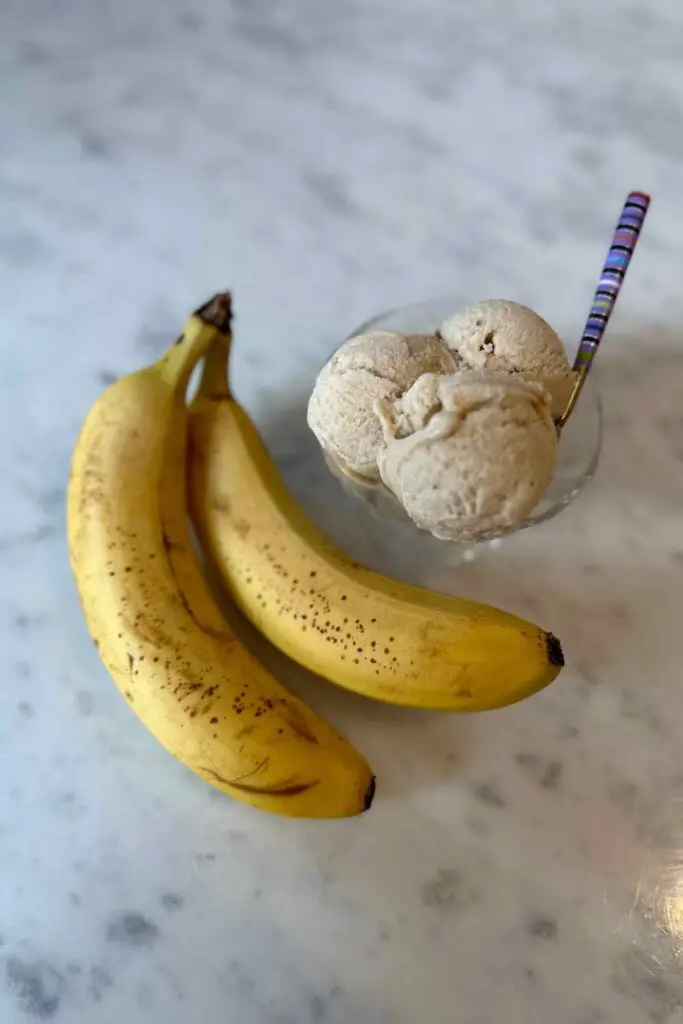
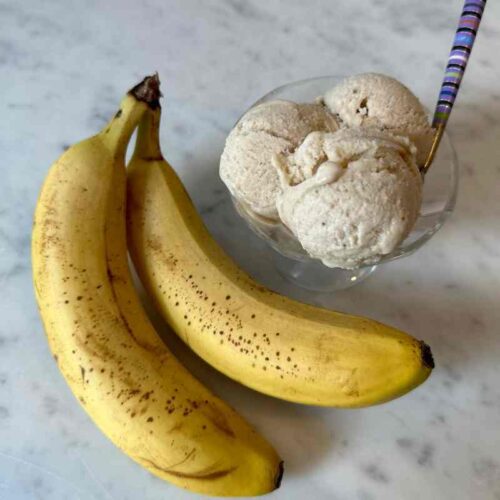
How can you make banana ice cream any better – by roasting the bananas with butter and brown sugar beforehand, that’s how! This recipe for roasted banana ice cream is so more-ish, you will be making it more than you think!
While bananas are delicious on their own, roasting them takes their flavor to a whole new level. Roasting caramelizes the natural sugars in bananas, intensifying their sweetness and adding a rich, almost nutty undertone. It’s a simple yet transformative step that elevates this ice cream to gourmet status.
Inspired by David Lebovitz’s The Perfect Scoop, this roasted banana ice cream is one of the best ice creams I’ve ever eaten!
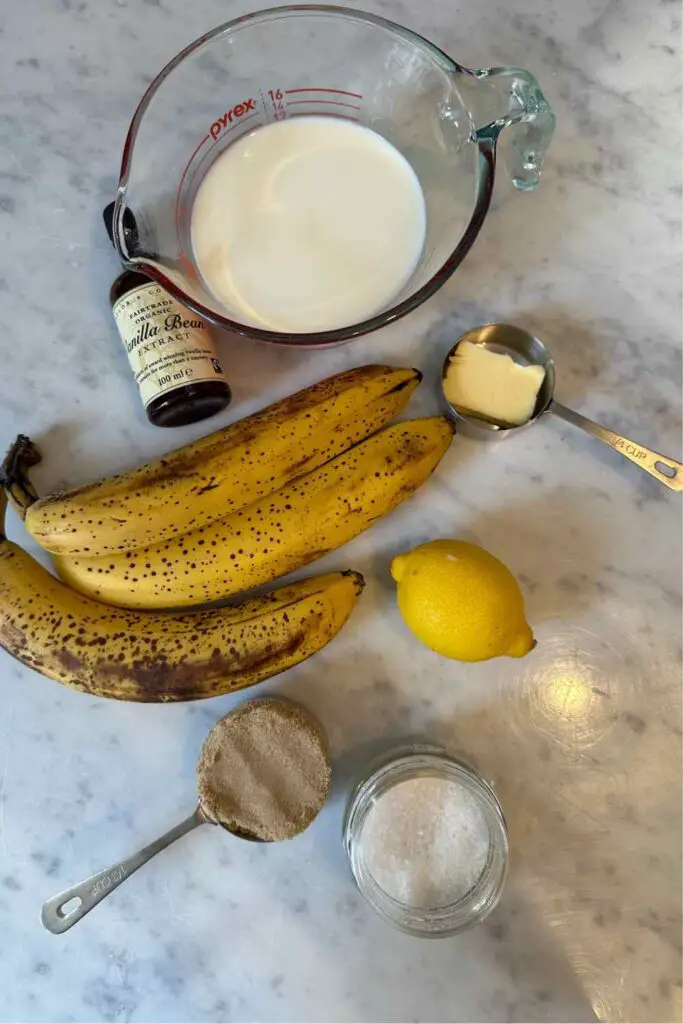
Ingredients
This is a Philadelphia style ice cream, so that means no egg yolks!
For Roasting the Bananas:
- Very Ripe Bananas: Look for bananas that are overripe with lots of brown spots for the best flavor.
- Brown Sugar: You can use either light or dark brown sugar based on your preference. The brown sugar adds a rich, caramelized sweetness to the bananas during roasting.
- Unsalted Butter: The butter helps enhance the flavor and caramelization of the bananas.
- Lemon Juice: Freshly squeezed lemon juice adds that zing to it
For the Ice Cream Base:
- Whole Milk: Whole milk provides creaminess to the ice cream. If you prefer a lighter version, you can use low-fat or skim milk, but whole milk will give you a richer texture.
- Vanilla Extract: This adds a subtle vanilla flavor that complements the roasted banana taste.
That’s it!

Equipment
Making roasted banana ice cream is so easy and you don’t need a lot of specialized equipment. Here’s a list of the essentials:
- Oven: You’ll need an oven to roast the bananas. Most home ovens will work perfectly for this.
- Roasting pan or ceramic dish: You can line a roasting pan with parchment paper to roast the banana chunks or use a ceramic dish. I used my Le Creuset dish!
- Blender or Food Processor: A blender or food processor is crucial for creating a smooth and creamy banana mixture after roasting. It helps blend the roasted bananas with the milk and vanilla extract.
- Ice Cream Maker: An ice cream maker is the most efficient way to churn your ice cream. It aerates the mixture as it freezes, resulting in a creamier texture. There are various types available, from manual hand-crank models to electric ones. Make sure it’s properly cleaned and frozen according to the manufacturer’s instructions before using.
- Alternative for Ice Cream Maker: If you don’t have an ice cream maker, you can use a freezer-safe container with a lid. While it’s not as efficient as an ice cream maker, it can still produce delicious ice cream. You’ll need to periodically remove the container from the freezer and stir the mixture to prevent ice crystals from forming. Repeat this process every 30 minutes until the ice cream reaches the desired consistency.
- Freezer-Safe Container: You’ll need a container with an airtight lid to store your finished ice cream in the freezer. It should be large enough to hold your ice cream comfortably.
- Measuring Cups and Spoons: Precise measurements are crucial in ice cream making, so having measuring cups and spoons on hand is essential.
- Cutting Board and Knife: You’ll need a cutting board and a knife to prepare and chop the ripe bananas.
- Spatula: A spatula comes in handy for scraping down the sides of your blender or food processor and transferring the banana mixture.
- Bowls and Spoons: These are for serving your delicious homemade ice cream!
That’s it! With these basic kitchen tools, you’re all set to create your own scrumptious roasted banana ice cream at home.
The Ice Cream maker to use!
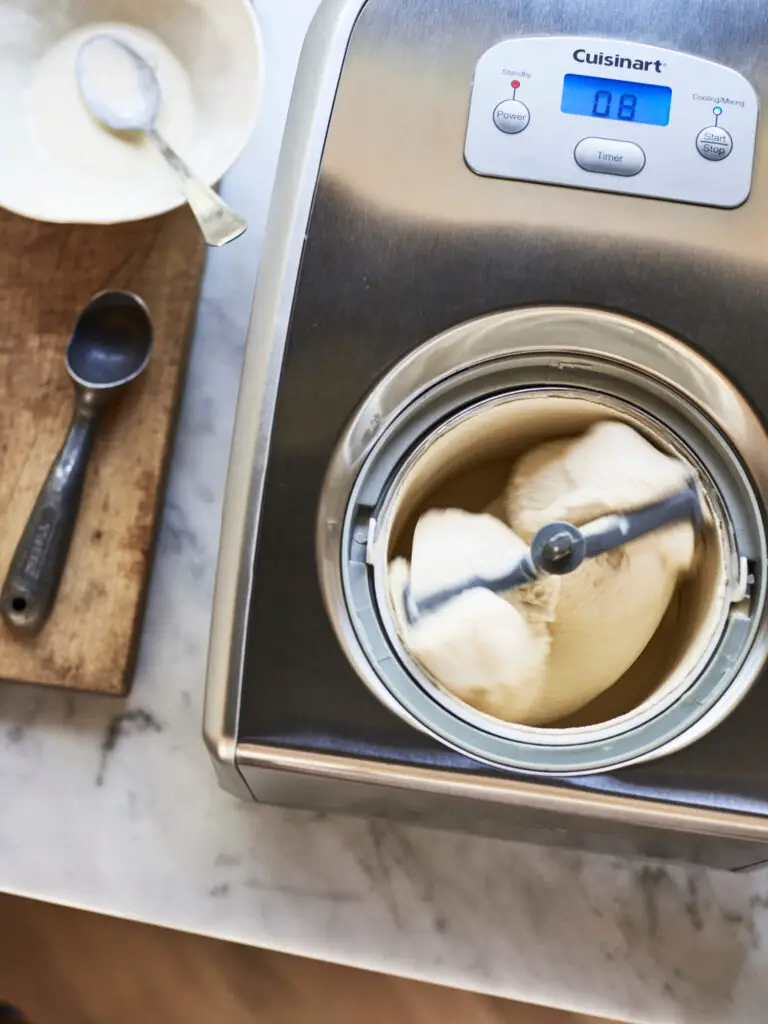
You have to have an ice cream maker if you want to make ice cream or sorbet! I started making it using the Cuisinart ICE-100 Compressor Ice Cream and Gelato.
There is no faffing around with bowls in the freezer. When you are ready for ice cream, it’s ready. Just turn on the Cuisinart ice cream maker and go. In about 40 minutes, you have ice cream that you can eat right then, or you can put it in the freezer to harden up a bit more. Once done in, you’ll have about 1 litre of ice cream ready to devour!
Steps
Making homemade banana ice cream is a fun and easy process that can be done in just a few steps. The preparation process can be broken down into three main steps: roasting the bananas, making the ice cream base, and freezing.
Roasting the Bananas
The first step is to preheat your oven to 400°F or 200°C. We want those bananas to get all caramelized and soft. Peel your overripe bananas and slice them into 1-inch small pieces. Lay them out on a ceramic dish or a baking dish lined with parchment paper. Add the butter cut up into pieces and brown sugar and mix all together.
Pop that baking dish in the oven for about 20 minutes, then give it a stir. Add it back for another 10-15 minutes. Keep an eye on it. You want those bananas to get nice and delish, but not burnt.
Remove the dish and let the thick syrup of hot bananas, butter and sugar cool just sightly, so you don’t burn yourself.
Creating the Ice Cream Base
In a food processor or blender, combine your roasted banana slices, lemon juice, vanilla extract, milk and a pinch of salt. Blend until you have a smooth, banana puree.
Freeze (skip this step if you’re using an ice cream maker)
Transfer the homemade ice cream mixture into a freezer-safe container or a shallow loaf pan (and cover tightly with plastic wrap) and place it in the freezer for about 4 hours.
After it’s completely frozen, keep the ice cream at room temperature to partially thaw it. Transfer it to the food processor for a minute or two (for a light, fluffy texture). Transfer the ice cream back into its container and refreeze for at least 3 hours.
Chill and transfer to the ice cream maker (skip this step if you’re not using an ice cream maker)
Place the ice cream mixture into a large bowl in the refrigerator until it is chilled. Transfer the mixture to the chilled container of your ice cream machine and make the ice cream as per the manufacturer’s instructions.
You can start eating your ice cream immediately or keep it in the freezer for a couple of hours to firm it up.
When making banana ice cream, there are a few tips and tricks that can help ensure success:
- Use high-quality ingredients: The flavor of your ice cream will only be as good as the ingredients you use. Opt for fresh, high-quality milk and bananas.
- Chill your mixture thoroughly: Before churning, make sure your ice cream mixture is thoroughly chilled. This will help it freeze more quickly and evenly, resulting in a smoother texture. Aim for a temperature of around 40°F.
- Don’t overfill your ice cream maker: It can be tempting to fill your ice cream maker to the brim, but this can actually impede the freezing process. Stick to the manufacturer’s recommended capacity, and if you need to make a larger batch, do it in batches.
- Freeze your ice cream properly: Once your ice cream is churned, transfer it to an airtight container and freeze it for several hours or overnight.
By following these tips and tricks, you can create a smooth and creamy ice cream that is sure to be a hit with everyone who tries it.
Variations
Here are some variations on roasted banana ice cream, including a recipe for banana sorbet:
- Chocolate Roasted Banana Ice Cream:
- Add chocolate chunks, chocolate chips or cacao nibs to your roasted banana ice cream base during the churning process. You can also drizzle melted chocolate over the finished ice cream for an extra chocolatey touch.
- Nutty Roasted Banana Ice Cream:
- Incorporate chopped nuts like walnuts, pecans, or almonds into your ice cream mixture. The nutty crunch pairs wonderfully with the creamy roasted banana flavor.
- Spiced Roasted Banana Ice Cream:
- Enhance the roasted banana ice cream with spices like cinnamon, nutmeg, or cardamom. Add these spices to the banana mixture before churning to infuse a warm and comforting flavor.
- Banana Caramel Swirl Ice Cream:
- Create a caramel swirl by making a simple caramel sauce (sugar, butter, and cream) and drizzling it into the churned roasted banana ice cream. Swirl it gently with a spatula for a sweet and gooey treat.
- Banana Split Ice Cream:
- Incorporate the classic banana split toppings into your ice cream by adding maraschino cherries, pineapple chunks, and chocolate sauce during the last few minutes of churning.
Frequently asked questions
Can you make lactose-free ice cream?
Absolutely! If you don’t have lactose tolerance and want to enjoy homemade ice cream, you can replace whole milk with lactose-free milk. moreover, you can also use coconut cream or lactose-free heavy cream.
Can you make dairy-free ice cream?
Yes! If you want a dairy-free ice cream without compromising its creamy and smooth consistency, use full-fat coconut milk instead of dairy milk. You can also add coconut cream instead of heavy cream for more creaminess.
Is ice cream gluten-free?
Ice cream is typically gluten-free, but it’s important to check the ingredients list to make sure there are no gluten-containing additives.
How long does ice cream last in the freezer?
Homemade rum raisin ice cream can last up to two weeks in the freezer, while store-bought varieties may last longer due to the addition of stabilizers. It’s important to store ice cream in an airtight container to prevent ice crystals from forming.
The Cherry on Top
Actually I think this is my favorite ice cream, I have ever made. It takes like banana bread batter ice cream – pure heaven! I am sure that a little dash of dark rum either inside it or poured on top would be fabulous.
List of other ice cream recipes

Here’s the Roasted Banana Ice Cream recipe
Roasted Banana Ice Cream
Ingredients
- 3 soft banana
- 1 tablespoon unsalted butter
- ⅓ cup firmly packed dark brown sugar
- 1½ cup whole milk
- 1½ tablespoon lemon juice
- 2 tablespoons granulated sugar
- ½ teaspoon vanilla extract
- ¼ coarse salt
Instructions
- Preheat the oven to 400F (200C). If you have a fan-assisted oven, preheat to 350F (180C) and cook for the same time!
- Slice the bananas into 1/2-inch pieces and toss them with the brown sugar and butter in a 2-quart baking dish.
- Bake in the oven for about 40 minutes, stirring once about 20 minutes in during baking. Make sure the bananas are browned and cooked through.
- Don't let the sugar darken too much – so watch the last few minutes.
- Remove from oven and add it all to a food processor or high powered blender. Then add the milk, sugar, vanilla, lemon juice, and salt, and purée until smooth.
- Cover and put in the fridge for at least two hours, but I would do overnight
- Make it according to the manufacturer’s instructions. (I always use my Cuisinart Ice Cream Maker)*
- Wow everyone by serving it immediately or store in an airtight container in the freezer for up to 2 weeks.
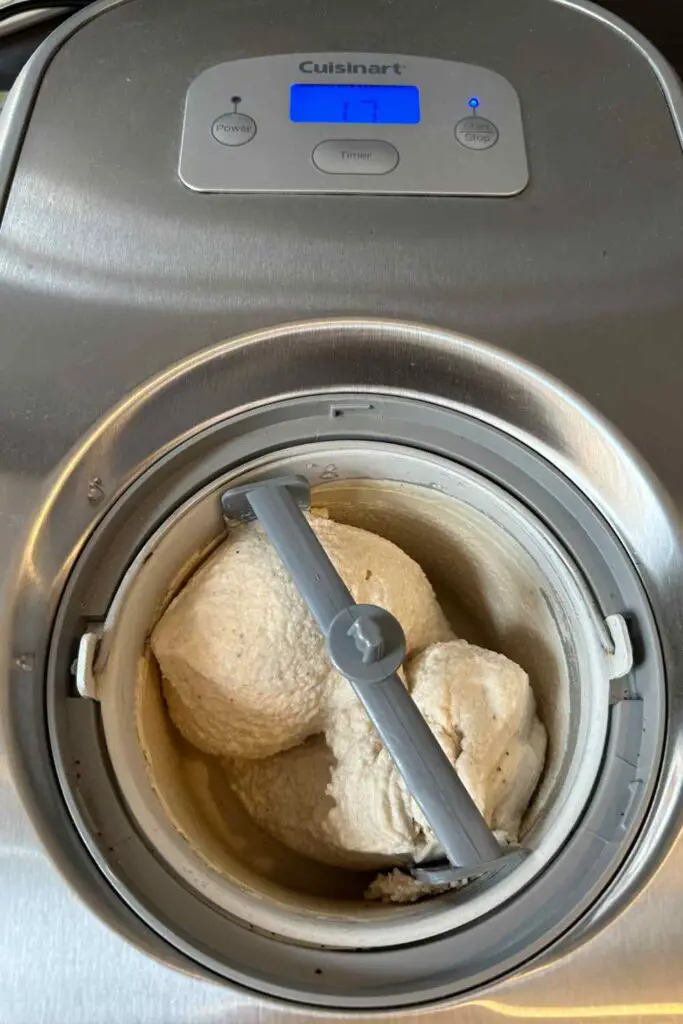
Notes
- Pour in the ice cream mixture, add the ice cream paddle and then turn it on
- I set the timer for 35 minutes
- You can always churn it longer if you want it harder
- Put it in the freezer to harden up some more